When I gave you my update on the March Resolutions, I told you all my spinning wheel had broken and that I would attempt to repair it. The piece of leather holding the footman to the treadle had snapped, and I couldn’t actually drive the wheel anymore.
I’m pleased to say I have successfully managed to do the spinning wheel repair, and my spinning wheel is operational again! My replacement leather is probably weaker than it ought to be – luckily, I have spares in case I have to do this again.
Spinning Wheel Repair – how?
I bought the leather from a shoe repair shop – they gave me the leather in return for a donation to the charity box, so it was ‘free’, but I put £1 in the box. I probably would have saved money if I’d bought some from a fabric shop, but I was hoping I’d get better strength leather.
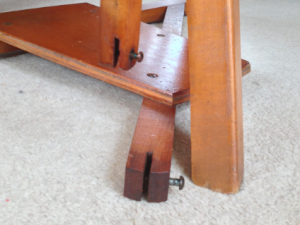
First, I had to remove the snapped leather from the connectors to the footman and treadle – this was really simple. I had to unscrew the connecting screws and pull the old leather out. It was pretty stuck, obviously a mark of how old it was…but it came out OK with a bit of manipulation.
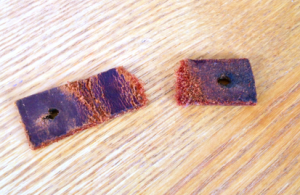
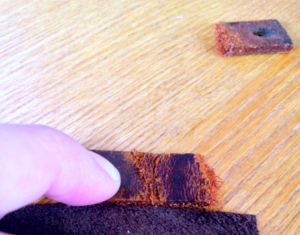
My repair leather was very thin, hopefully shown in the photo despite the poor quality. I decided to double it up to hopefully make it thick enough, and hence stronger. I was going to glue the two halves together, but I decided that might affect the flexibility, and didn’t do it. I can always do this at a later stage.
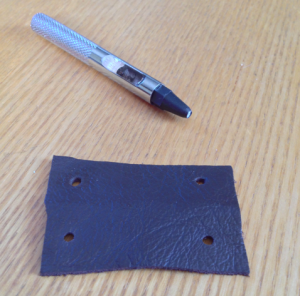
To make screwing the replacement leather in, I punched holes in the leather where the screws would go. I got the placement directly from the broken piece. I don’t know what piece of equipment I used to punch the holes! I had it in my papercraft box, and I’ve had it for years to punch odd holes when a hole-punch won’t do. Anyone know?
I stuck the leather in, screwed it securely in place, and voila! It was a bit hard lining the holes up with the screws, but that was the worst part to be honest.
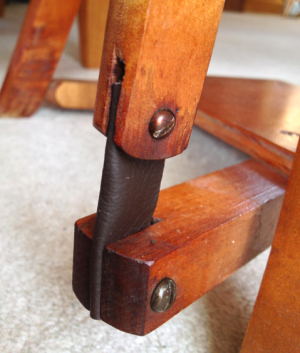
The leather is known as a con-rod connector in Ashford terms – replacements from one website I’ve found would cost £1.70 for a plastic one, and £2.15 for the leather, and I’d have to pay for post and packaging. I didn’t do this search before I got the repair scraps, and I’m glad I didn’t think of it, because my solution was cheaper by a good few pounds.
Has anybody had to do anything like this before?
Much love,
Corrie xx


my footman is connected by a bit of shock cord….. it works fine although it was a temp repair “until I could get the proper stuff” 2 years ago. Leather would have been better but I didn’t have any and we don’t have a shoe repair shop locally!
Mine’s attached with shock cord too. The leather looks better and I’m sure works better too. I’ve got some leather lurking in my stash. I might give it a go.
Thanks for visiting my blog. I’ve enjoyed looking around your lovely blog. Always fab to find people interested in the same crafts!
You are clever, I think you did a good job!
I am reading this blog with interest as I broke my Shapwick Blaise wheel last week. It is the leather connector to the footman (which on Shapwick Blaise design is a piece of what appears to be thick cloth covered nylon ‘string’ that is fed through a tapered oval piece of leather & crimped tightly to itself). It is the leather that needs replacing. The difficult bit is undoing the crimp.
I cannot trace Shapwick Blaise so assume they have gone out of business. A pity as the wheel is lovely .